Showing posts with label diy. Show all posts

3/12/15

Spending Money Puts You In a Real Party Mood

 I've always been pretty easily fascinated by certain things. Some things draw me in, and I can't seem to get away from them. Andy Warhol has done that.
Every aspect of him interests me, and the more I learn, the more interested I am.
Right now I am also extremely into the Velvet Underground, who were friends of Andy's, and a big part of his work.
So it is perfect that I am getting to be part of an advisory board at the Warhol Museum, one for just teens, and only about 15 teens from the entire city. In the advisory board, our main purpose is to put together a huge even (which takes place in May) at the Warhol, which will include bands, fashion shows, art making, refreshments, and more. So far it's been a blast. I love getting to spend time at the museum all the time, and being surrounded by the work and world of Andy Warhol. 
Anyway, back to the post. Because of my obsession with him, I decided to Andy-ize some stuff, and even draw him. 


I made a couple of pins, and a necklace quoting him. 


Here's a bad quality up-close shot of my drawing.


Andy Warhol was such an unapologetic person, and I really admire him for that. In one of his interviews, he is asked a question, and he just says to the interviewer something along the lines of: Can you just give me the answers and I'll say them?
In another, with Edie Sedgwick, as soon as they sit down to be interviewed, Edie announces that Andy will not be answering questions at all. Whenever he was asked something, he'd whisper a terse answer in Edie's ear, and she'd tell it.
He was (and is) so different than any other celebrities. He could not have cared less about people's opinions of him, and he embraced his social-awkwardness. His varying work and process inspires me a lot lately, and I wish I had more time to make art of my own.

I apologize for my lack of blogging lately. My blog needs some work and attention, and I will hopefully be giving it some of that soon. I also have some pages from my sketchbook to post, but I haven't gotten around to that either. My Saturday art classes end soon ( :( ) but then I will have more time to blog which is good!


1/31/15

Vegan Carob Muffins

Today is the last day of January, and I am so glad. It's got to be one of my least favorite months of the year, at least on the east coast. But, I have tried to make the best of it, and today I did a pretty good job of that. After brunch at a hipster coffee shop and then art class, I came home and tried to figure out what to do with the carob pods my mom ordered recently. I had never had one before, but they're really interesting. 

This is a carob pod, also known as St. Johns Bread, for anyone who has never seen one before. They're very dark brown, and pretty hard. The cool thing is that they are edible, except for the extremely hard seeds on the inside. They taste really good, sort of like chocolate, mixed with honey and bread.
Carob is used as a substitute for chocolate a lot, and is considered a healthy alternative to chocolate. It doesn't have any of the caffeine that coffee contains, and is naturally sweet, so doesn't have to be paired with as much other sweetener as chocolate does. 
Anyway, enough facts, lets get to the actual recipe. 

Vegan Carob Muffins 


 To break up the pods, which are pretty tough, my mom and I stuck a knife into the pods and then banged them on the counter. There isn't really a correct way to break them (that I know of) so I'd just say that if you are using them, try a few methods and see what you think works best. 


Here is what it looks like all blended up! Make sure you didn't miss any chunks before mixing the powder into the mixture. 

If you follow the recipe above, your muffins will turn out something like this! They aren't the prettiest, but they taste really good, and have a light and fluffy inside. I baked them for a little bit over 25 minutes, and they were a bit hard on the outside. I'd recommend less time than that.


Try them out and tell me what you think! Hopefully the recipe is good. Also, if you don't have any carob, this is a super simple and good recipe for just basic muffins, or a basic recipe to start with! Enjoy:)

11/17/14

Who Needs Jamba Juice?


No more mysteries about the content of this post! So, it's obviously a DIY acai bowl kinda thing, and absolutely anyone ca do it, but the main purpose of it is for the East Coast people (like me) who don't have a juice place on every single street, selling these bowls of healthy deliciousness. Wow, that sounded pretty cliche. But it's totally true! They are actually so good! In Pennsylvania, I have yet to come across a place selling them, but in California, they were everywhere! This frustrated me, since I already felt like those Californians were living in luxury compared to us, but this too?! So I decided to make my own. 

Let me just say it was extremely easy, and there are so any variations! This is just a very basic one. 


I wouldn't recommend adding the cat! It's a little too furry and ruins the flavor! 


This part is not limited to what I've shown! Do whatever you want with it!


Those little pinkish circles definitely do not resemble banana coins, but that is what they are.


And tada! It's not the prettiest work of art, but it tasted so, so good.

9/2/14

Virtual Gallery/Diy Number 2.

In my last post, I explained the whole thing about me sort of reinventing myself through art, or just my art I guess. Anyway, I have continued on that path and explored with even more new things than before. I've been working with not only watercolor illustration, but fine liner pens too and colic markers-which I've actually had for a while but never used much and by the way they are the best thing ever but so expensive as well! 


Above is one really recent doodle that I did to slip into a letter I wrote to a friend from where I used to live. 


As you can see I have a theme going right now: black and white plants. I promise you that isn't the only thing I'm doing, although it is my obsession (this week).


I'd like to also apologize for the bad quality photos. That won't be happening much I hope.


Here is me proving that I haven't only drawn plants.


Again! And this time I even used color(▰˘◡˘▰)!


And this one is way different than plants! I think it would be cool on a t-shirt, but my mom said it looks like the hand of the Grinch. Whatever. 


I know that this picture was already posted at the top, but I'm going to keep talking about it soo here it is. One thing you probably didn't think about it was that the flowers are actually doodles I did, then cut out and glued to my binder for school, since I didn't want to have a boring binder.


Ok here we go: My 2nd Diy.
First, Mod Podge or something similar will be needed for this. You'll also need some scissors, paper, pens, and a paintbrush. 
Oh, and a binder might help too. 


So, I started by making some doodles of plants (but they don't have to be plants) and then cut them out. 


The one above is my favorite.


Ok so once you get all of your supplies together and cut out your doodles, slather a bunch of glue on the backs of your doodles and put them on where you want them to be! It helps if you place them out beforehand so you have a plan-and also make sure the binder is right-side-up or it will be very weird and frustrating like it was for me. 


Once it's on, put glue all over the outside to make sure it's going to stay. You may have to re-apply once in a while if you're using it for school like I am. 


 It will look better in the end if you runoff some of the excess glue. Once that's all done, you can let it dry for a while and then you'll have the coolest binder in school!

8/21/14

Board of Moods (diy # 1)

Today, I had most of the day to myself to work on whatever I wanted for the first time in forever! I choses to work on my room a little bit more, since I haven't even had my own room in a month. Since all of the unpacking and most of the organizing was done, I started a new project, which was working on my mood board, which has been completely blank since we moved, and decided to take pictures along the way and make a little step-by-step here, on my blog.

So, of course, the first step to making an inspiration/mood board thing, is to get inspiration. Pinterest is the best thing for that. These three pictures were my favorite that I found, and I used them for ideas when making my own:


I like the cluttered, messy but still kinda organized look, so that's what I went for, except mine had no theme.

Step two would be gathering your supplies. 


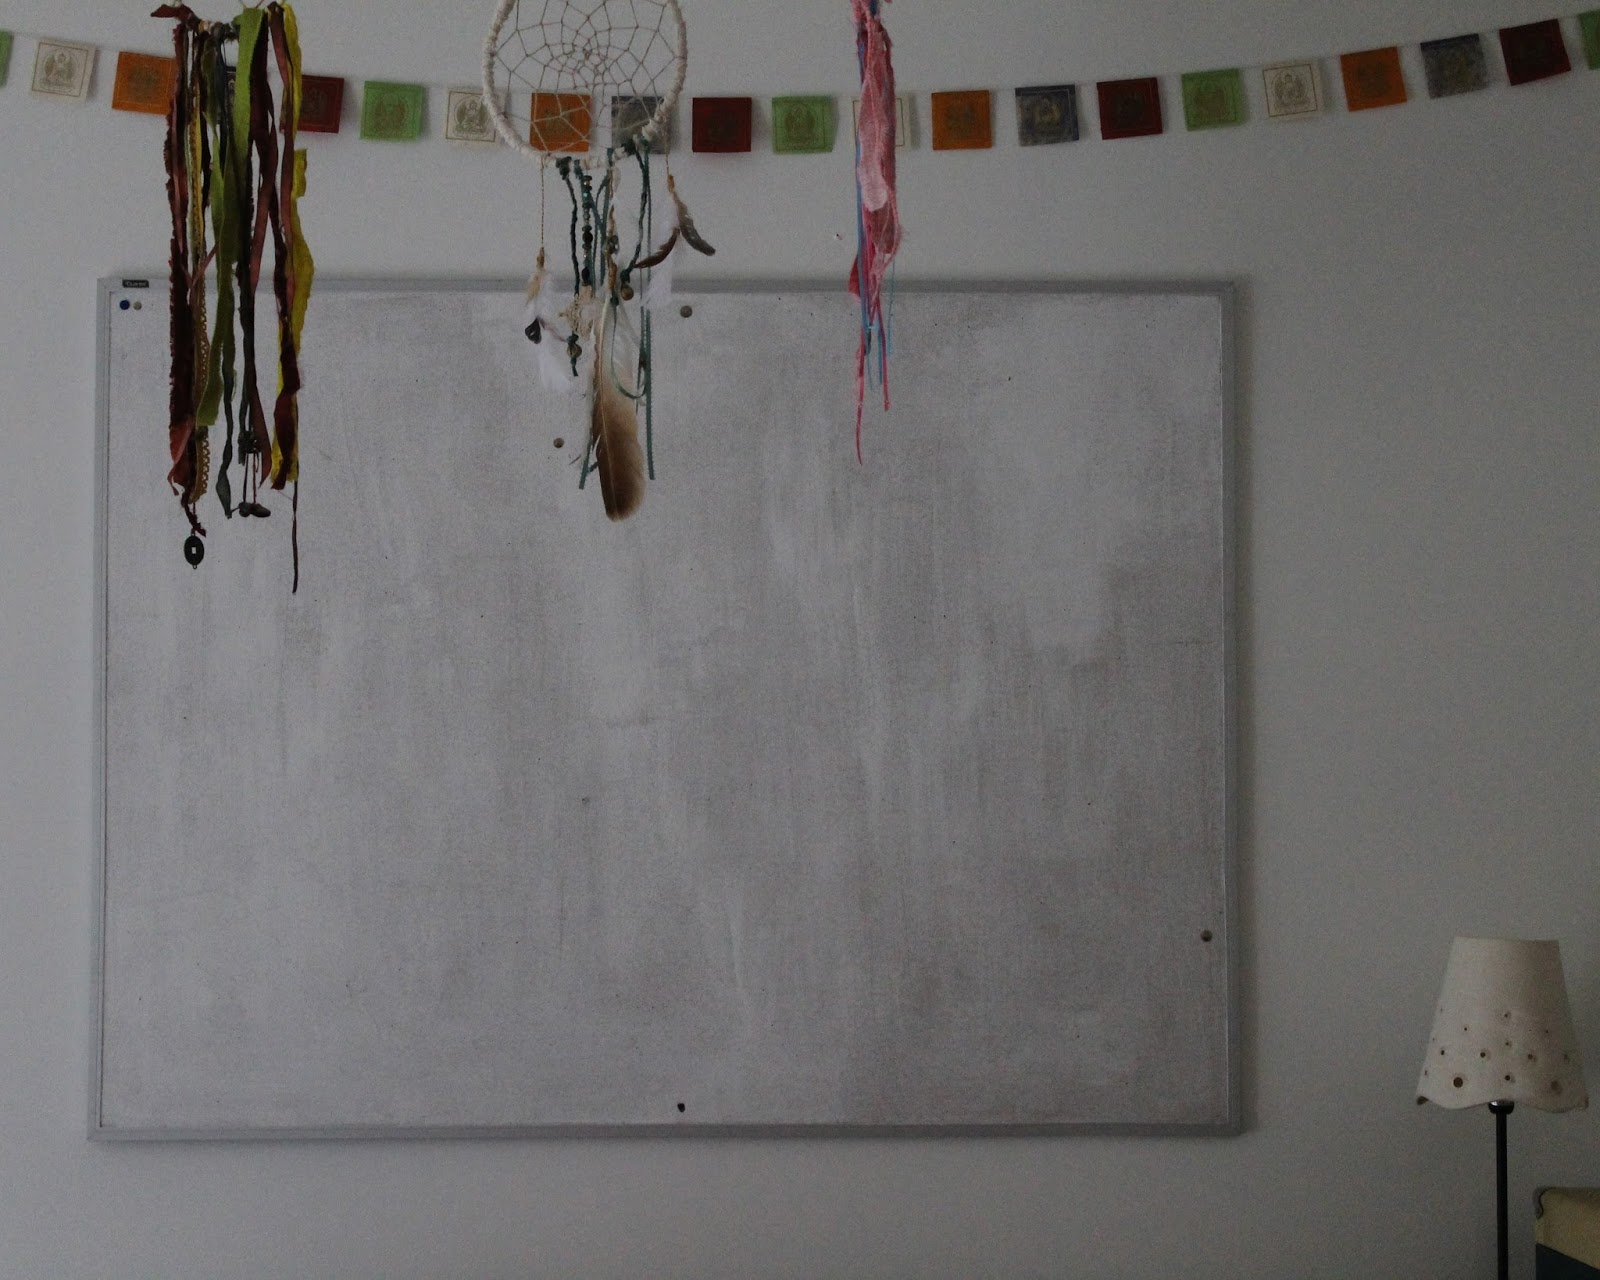
You need some kind of surface, a cork board is what I have. (It's painted white since the brown clashes with everything I own) Even though mine is hanging above my bed, I really like how they look above desks and working spaces too. 


 Next, you need something to put on it. This part has absolutely no limits. You can put anything from photos from magazines to old menus and recipes to things that aren't even paper, such as hanging necklaces (that's what mine used to be for).

I took some of my favorite magazines-Nylon and Teen Vogue-and cut out every picture I liked or inspired me.


I cut out pictures of people I idolize or really like, (sky ferreira, vanessa hudgens, sinead O'connor, regina spektor, elle fanning, liam james etc.) I had a pile of photos of Grimes too, but I found those later on. 


Next I went scavenging for some memorabilia type stuff, like baby pictures, photos from shoots with my mom, old concert tickets, a menu from a cool restaurant, etc.


Then I found just some random stuff I was inspired by or liked a lot, such as the cello picture since I play cello, or the picture of Suzy Bishop since Moonrise Kingdom is my favorite movie ever. You can print things out from online too, I printed out the picture of Suzy. That makes it even more unlimited,


If you are anything like me and you save lots of random things like I do, this is a really fun project. These are just random things I've accumulated when I buy other things from brands that send sticker and cool tags along with whatever I bought, and some tags I got from a cool artist. 


And these I found inside of the cases of two of my favorite vinyls, Grimes and Violent Femmes. 


Don't forget thumbtacks!


So, finally, the supplies are all gathered, and you can start. 


 For me, it was easier to start from the center and work my way out. There's no right or wrong, so it's just whatever you want it to be like, and you can change in anytime.

~
~
~
~
~
~
~
Ta Da! 


It took me a couple of hours, since I worked slowly and kept on rearranging all of the pictures, but here is the final product (for now). I still haven't completely finished, but I wanted to leave room for new things I collect and acquire. 


I love this photo if me laying against the board once it was finished. I had to beg my little brother to take some pictures for me and this was the only one not blurry!